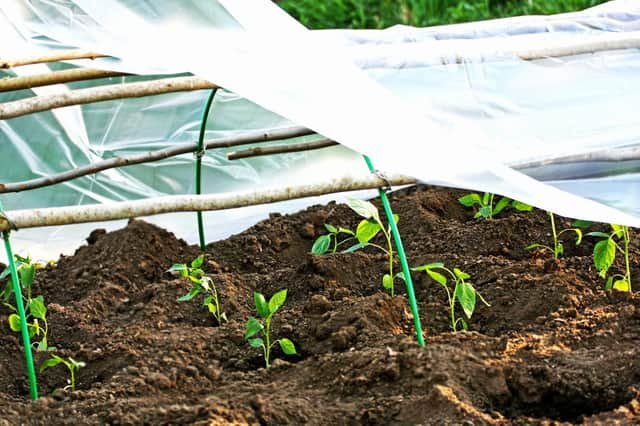
Here’s how to insulate your greenhouse – Brian Kidd


The Chinese witch hazel, which had swollen flower buds last week, sprung into bloom this morning. Accompanied by the delightful perfume, you would never believe anything could look so magnificent on a winter’s day. The camellia buds are bursting and I picked a few to put into a vase for my wife Pam.
A couple of weeks ago, we sowed some carnations and polyanthus because they don’t need a lot of heat. But seeds such as begonias and lobelia may be sown now and they definitely need some warmth.
Advertisement
Hide AdAdvertisement
Hide AdTo insulate the greenhouse, use bubbled polythene and make a division so that just part of the greenhouse can be kept warm. A heated plant propagator is a good idea and should be placed on a bench – one of these can be bought at a garden centre and the prices vary considerably according to the size.
I use a soil warming cable at home. But what’s so special about soil warming cables and why do I recommend them so often?
Soil warming cables range from £20-40 and they are very cheap to run.
You can make a good sized propagator by using an old door as a base, which is cut to size so that it will fit on to greenhouse staging. The sides need to be made of wood about eight to 10 inches wide, it may be possible to find some recycled material. Screw the wood to the door to form a box and then an inch of sand is placed into the base.
Advertisement
Hide AdAdvertisement
Hide AdThe soil warming cable is placed onto the sand, turned on for four hours so that it is flexible and then placed onto the surface of the sand. There is a diagram in the box which contains the cable on how to do this.
A two inch covering of sand finishes the job and the sand is watered. Glass sheets with masking tape around all the edges are used to make the glass top. The cable is turned on and we are ready to sow seeds 24 hours later. The sand must be kept moist all the time; this ensures the cable – which works like an electric blanket – distributes the warmth evenly.
The great advantage of having a system like this is that there is plenty of space. This is very useful when growing begonias from seeds. They grow very slowly indeed but when they are in the propagator with bottom heat they grow quicker. But when they are pricked out into seed trays and put outside into the cooler greenhouse, they stop growing. In the home-made heated propagator, there is plenty of room for seedlings in boxes and they grow much more effectively.
It’s a good idea to have a look at the soil warming bench every day, lift off the glass and wipe of the drops of water underneath the glass. This prevents drips falling on to the seedlings which can increase the possibility of damping off disease in the m.
Advertisement
Hide AdAdvertisement
Hide AdTop tip: If you love snowdrops, this is the time to plant them. You will find at your local market in bunches and you should plant them in groups of two or three and they will flower and produce seeds which will grow alongside the parent plants.